Setting up automated finance reporting in Google Ad Manager
This guidance assumes that you are either running basic Google Ad Manager (free) or do not have Ad Manager Data Transfer Reports activated on your premium GAM.
If you do have this service, please advise your Customer Success Manager or support and we can help you configure automated reporting using this service instead.
This guidance enables the setting up of an automated Google Ad Manager report to be sent to Anonymised on the first of every month for finance purposes.
The report should include the following:
Dimensions
Order
Line item
Creative
Key-values
Metrics
Total (this will include:)
Total impressions
Total targeted impressions
Total clicks
Total targeted clicks
Total CPM and CPC revenue
Total CTR
Report set-up guidance
Log into Google Ad Manager.
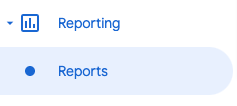
Navigate to Reporting > Reports.

Reporting > Reports
Click on the New report button.
Under Report type be sure to select Historical.
Under General Settings, name the report, for example: [Publisher name] - Anonymised - Monthly Finance Report.
Set the Timezone to (GMT) Greenwich Mean Time
Edit the Date range to be Dymanic and Last Month.
Under Report currency be sure to select your local currency.
Under Filters choose Set the option Line Item, and then choose either:
Select is any of and choose all the line items on which the Anonymised key-value is used
Where you have added ‘Anonymised’ to the name of the line item(s), select contains and type Anonymised using the naming convention used when setting up the line items
Under Dimensions, select the following options:
Order
Line item
Creative
Key-values
Under Metrics, search for and select:
Total impressions
Total targeted impressions
Total clicks
Total targeted clicks
Total CPM and CPC revenue
Total CTR
Under Editors and scheduling, set the Schedule to Monthly.
Set the Date range:
to start on the first of the month.
and ending on the last date the filter allows (this should be one year from the date you create the scheduled report).
Keep the File format as CSV and leave all the following options enabled:
Include header,
Include IDs,
Notify creator
Under Add recipients, include the email address gam.reporting+{Network ID}@anonymised.io. Where the Network ID can be found in GAM - see: https://support.google.com/admanager/answer/7674889?hl=en. An example of the email address could be: gam.reporting+12345678@anonymised.io.
Click on the Save button.
Navigate back to Reporting > Reports to see that the report has been created and scheduled.
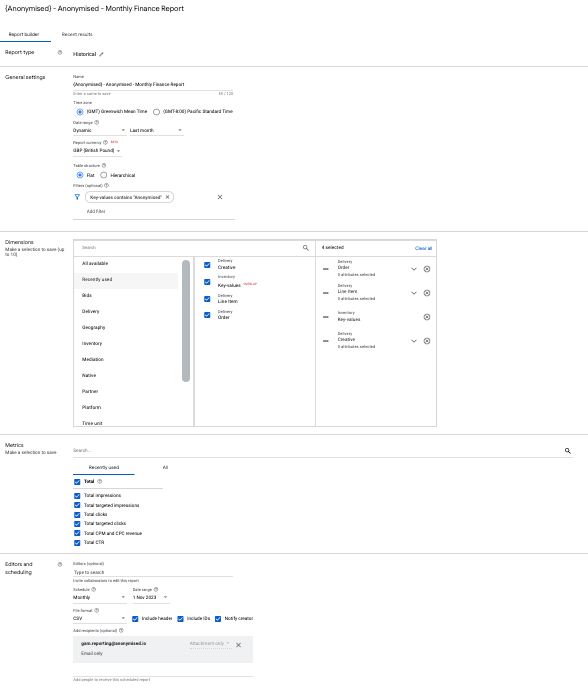
The final report configuration should resemble:

GAM Monthly Finance Report
Related articles
