Create a custom targeting audience with Audience Builder
A step-by-step guide to creating a custom targeting audience (formerly known as Retargeting) in the Anonymised Audience Builder. For the creation of a regular (targeting) audience, please refer to Create an audience segment with Audience Builder.
You must also ensure that the Anonymised marketing tag on the domain upon which the custom event will take place is configured to run retargeting - see tag implementation. We recommend customers setting up a custom segment for the first time speak to their Customer Success Manager or support.
The Audience Builder menu collapses to provide more screen space to the feature screens, please click on the icon (->) to expand the menu and its options.
Instructions
Open the Anonymised Audience Builder. You may open this:
As an advertiser: https://advertisers-web.anonymised.io/login
As a publisher: https://publishers-web.anonymised.io/login
Using the navigation menu, click on Custom Targeting and choose Active segments to view the current custom targeting segments with active segment IDs available for deals and line items:-

Custom Targeting menu
To create a new custom targeting segment, click on the Create button, in the top right-hand corner of the dashboard.
Create button
Enter a name for the new custom targeting segment, and click submit to open the audience builder.
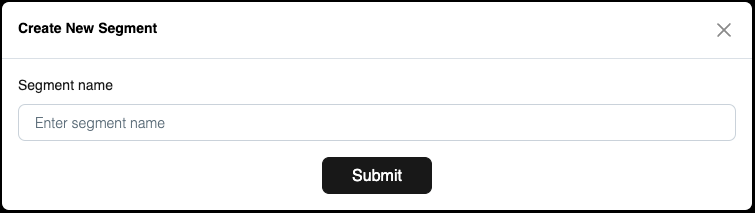
Segment name screen
The audience builder has two panels:-
The Custom Targeting criteria panel, on the left-hand side, enables you to curate the audience using various filters to clearly define the criteria for the custom targeting segment.
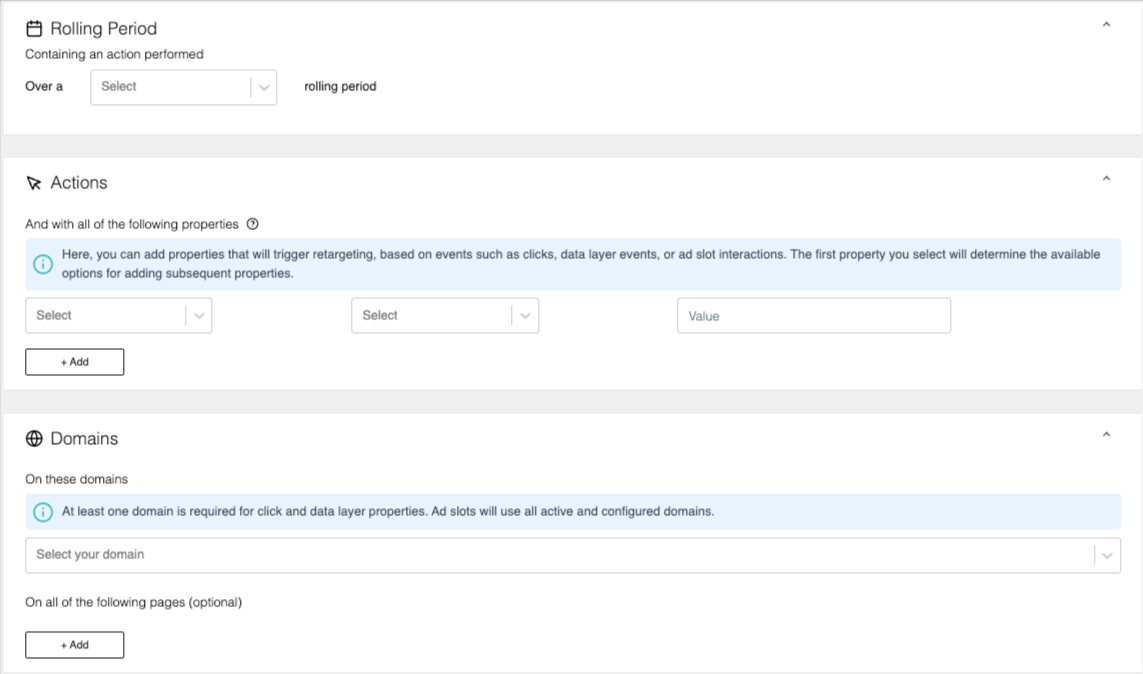
Custom Targeting criteria panel
The Custom Targeting summary panel, on the right-hand side, displays an estimate of the overall size of this audience segment.
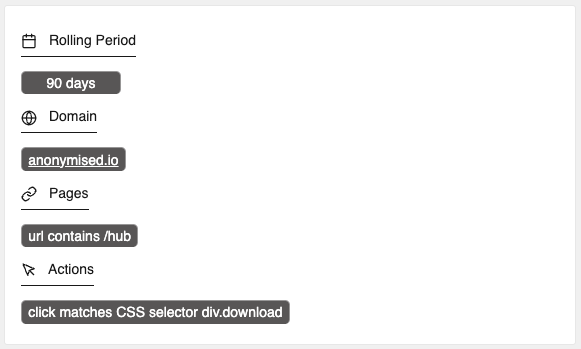
Custom Targeting summary panel
The segment criteria are organised and appear in expandable panels as follows:
Panel | Contains criteria | Used for |
|---|---|---|
Rolling Period | 30-day, 60-day, 90-day | Defining conversion duration |
Actions | Data Layer | Defining the data layer key-value to be used as the trigger |
Click | Defining the DOM object ID or CSS Selector to be used as the trigger | |
Ad Slot Clicked | Defining the ID of the campaign, line item or creative to be used as the trigger | |
Ad Slot Viewed | Defining the ID of the campaign, line item or creative to be used as the trigger | |
Domains | Domain(s) | Defining the domains on which to run the custom targeting |
Pages(s) | Defining the pages on which to run custom targeting |
Note: The criteria and options available will adapt based on the criteria already configured.
You may define an action using CSS Selectors. For more guidance please refer to https://www.w3schools.com/cssref/css_selectors.php.
You may expand and collapse each section as desired by clicking on the appropriate icon: ∧ or ∨
Once the segment is built, you may choose to Schedule or Activate the audience. Noting that a a custom targeting segment will only become Active once it acquires 1000 members. At this point the segment will be set to the SSP's 3rd party segment manager or your Ad Server as per the integration your organisation has.
For in-screen assistance use the screen tour on the first visit or press the tour icon ![]()